Hello. I’m rotarymars.
I’m feeling like I’m writing a blog again after a long time.
This time, I’d like to write about something different from the machine learning I wrote last time, which is called “object detection”.
What I want to achieve this time
- Detecting “faces” from images I’ve never seen before and surrounding them with a square
I’d like to make it possible to do this.
Preparation
This time, I’ll talk about the following conditions.
- python (I’m using 3.11 this time. If you’re worried, please fix the version with pyenv or asdf.)
- docker (I’ll use it to launch the labeling software.)
- direnv (or virtualenv to launch a virtual environment.)
Procedure
First, let’s create a working directory.
mkdir ball_detection && cd $_
Next, create a .envrc file with the following contents.
layout python
Now, execute the following command as needed.
direnv allow
Here, the virtual environment should have been created. Check it.
which python
# /home/rotarymars/projects/***/ball_detection/.direnv/python-3.12.6/bin/python
Next, install the packages you need. Create a requirements.txt with the following contents.
ultralytics==8.3.32
Then, execute it as follows.
pip install -r requirements.txt
After a while, the installation should be complete.
Next, let’s prepare for the software needed for labeling.
We’ll use label studio to label.
Create a label_studio directory under the current directory.
mkdir label_studio && pushd $_
Create a docker-compose.yml with the following contents.
version: "3.9"

services:
  label_studio:
    image: heartexlabs/label-studio:latest
    volumes:
      - label-studio-data:/label-studio/data
    ports:
      - 8080:8080

volumes:
  label-studio-data:
After creating it, launch the container.
docker compose up -d
The first time it is launched, it will take a while due to the download of the container, but the second time and later should start faster.
If you want to stop the container,
docker compose down
Do it.
Then, go to the previous directory.
popd
Next, access localhost:8080.
You should see a screen like this.
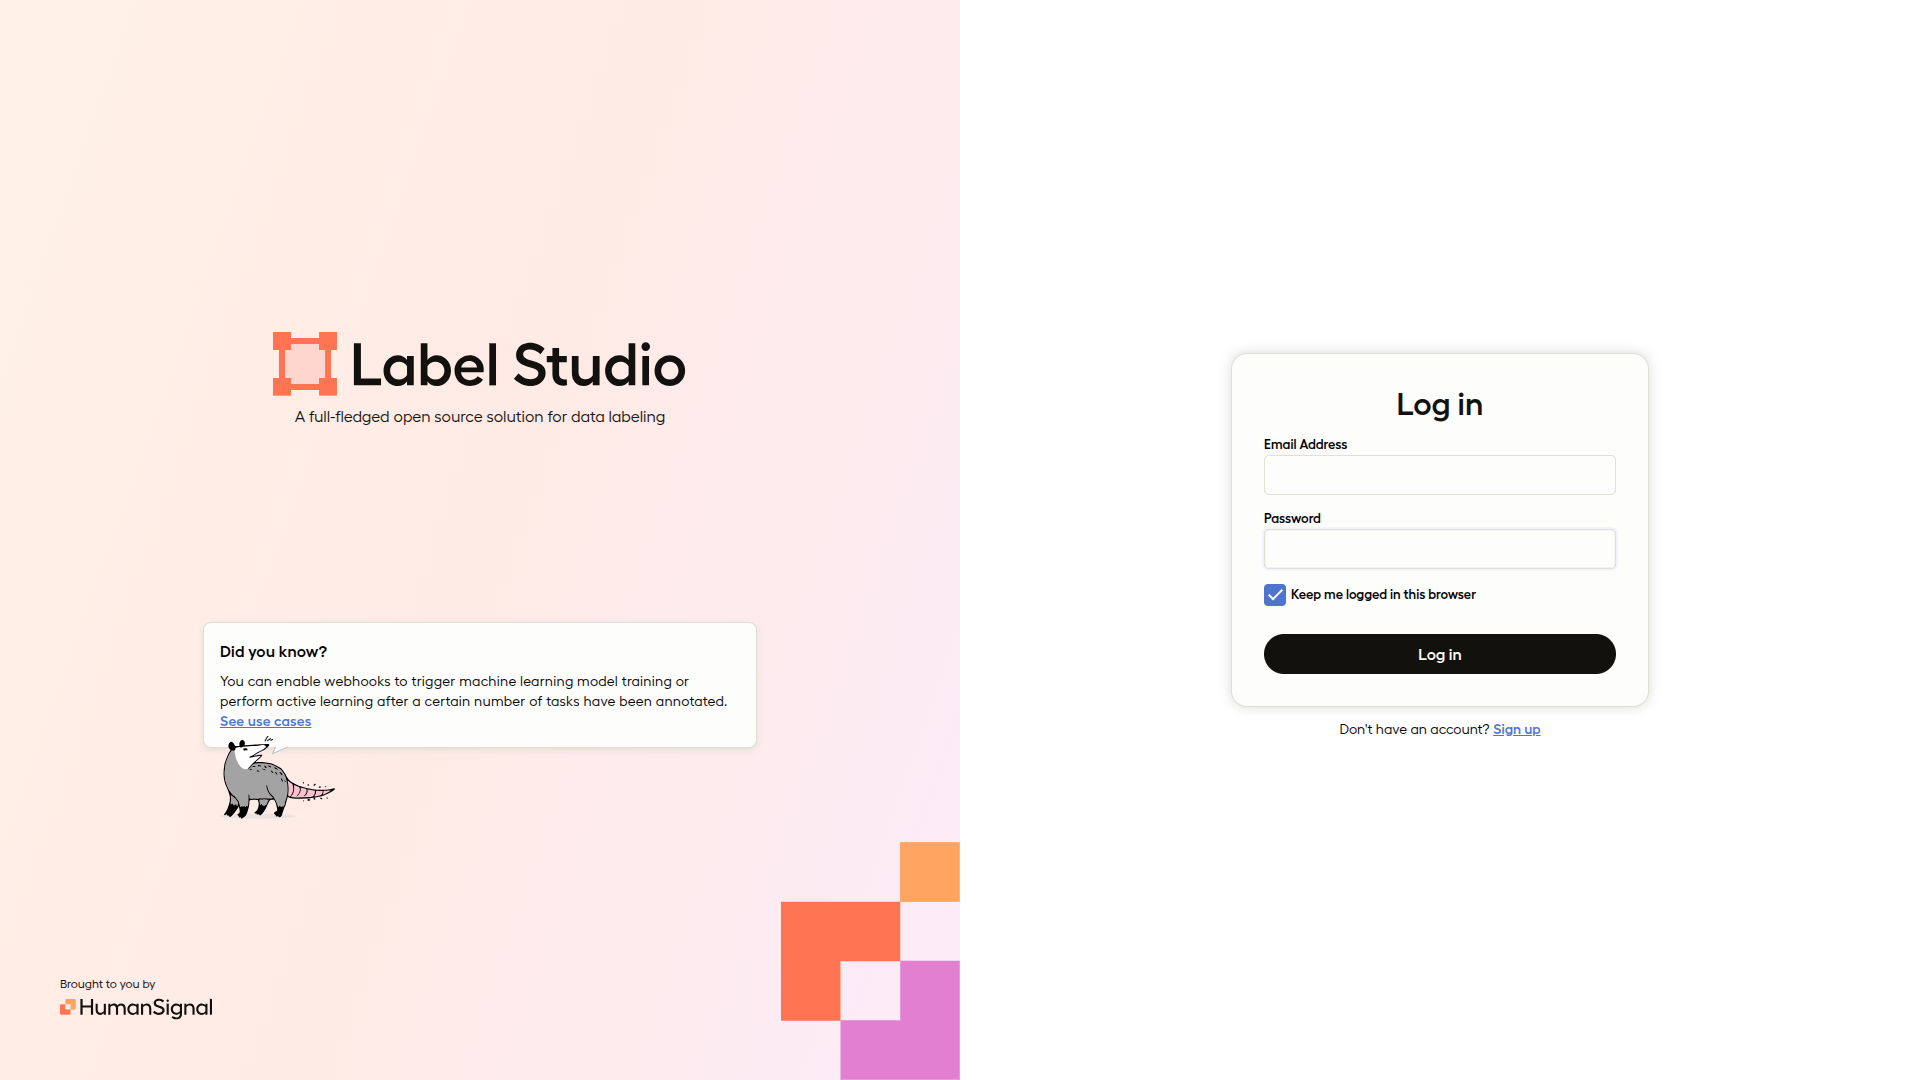
Login and proceed.
Next, create a project.
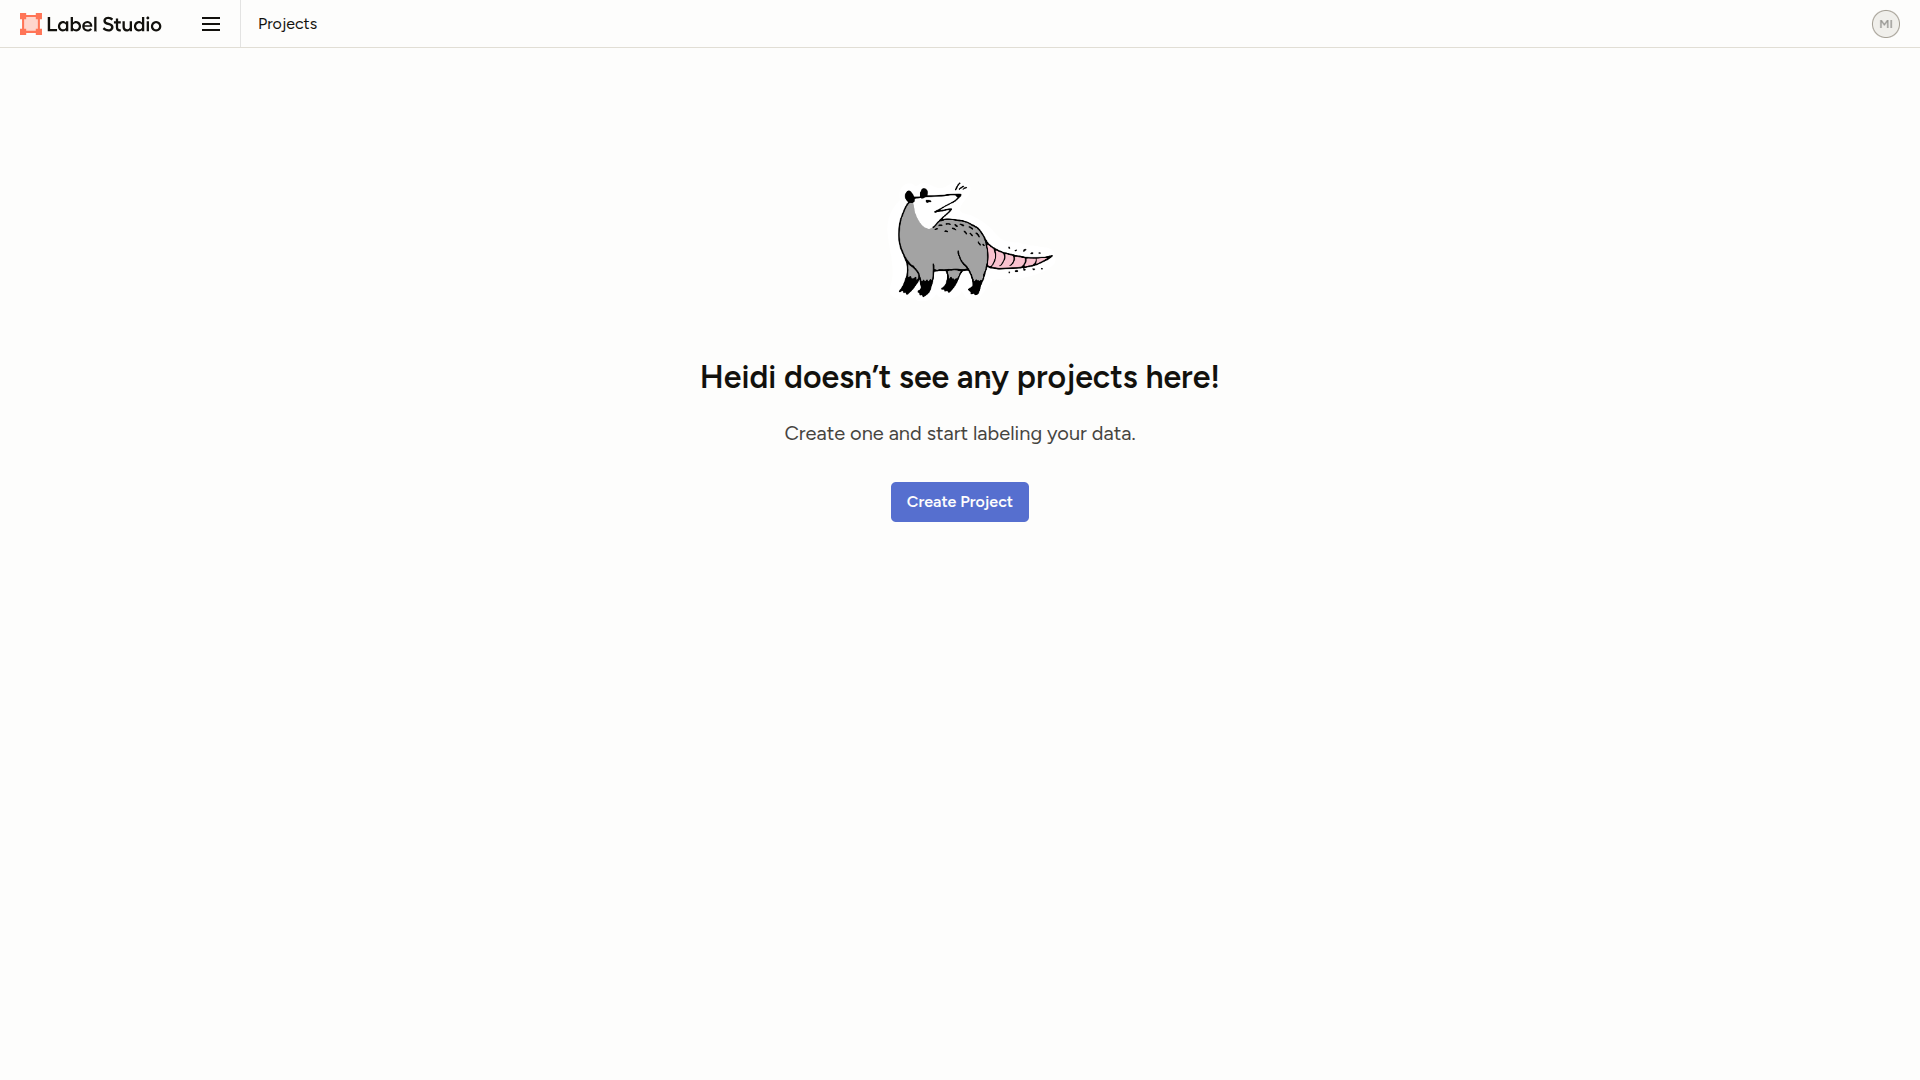
Select Create project in the middle, decide on a project name, and enter it.
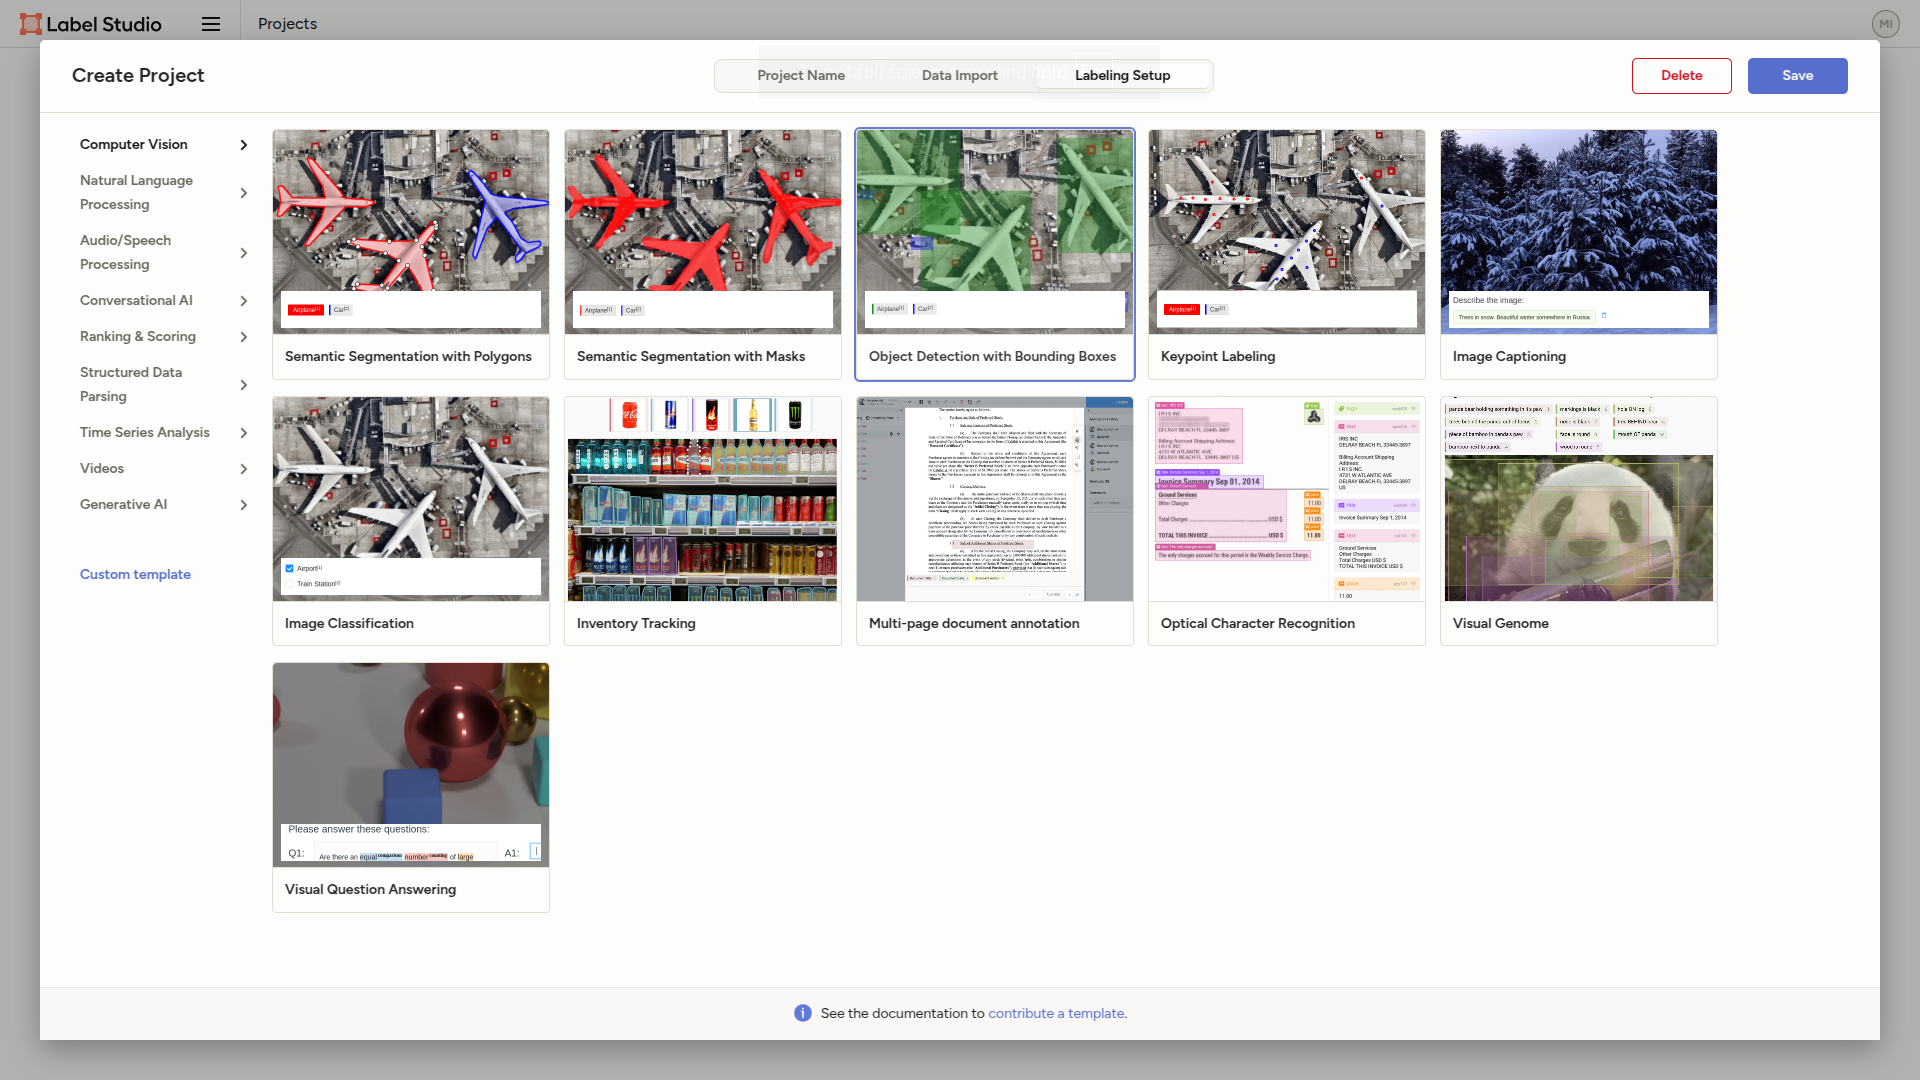
Next, select labeling setup at the top and select “object detection with bounding boxes”.
Add the item you want to label.
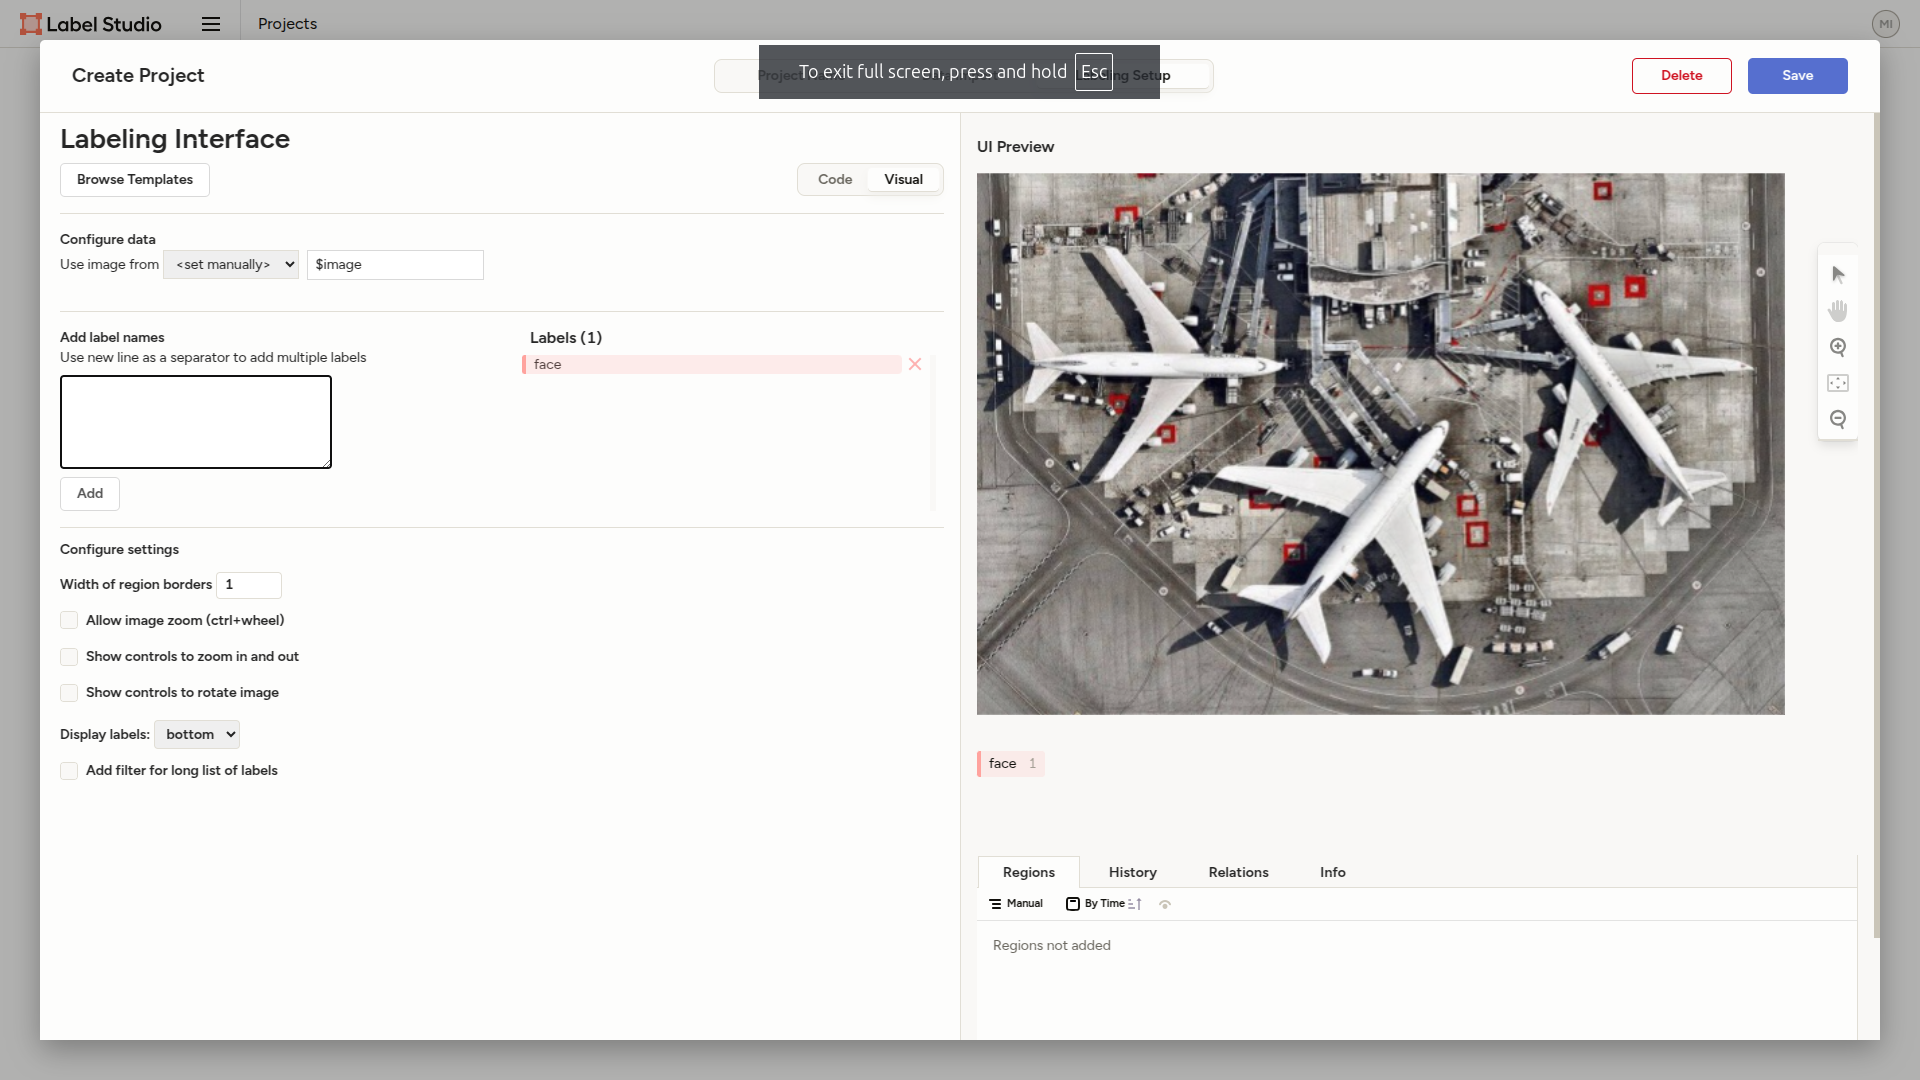
Delete the existing label with the X button and add a new label called “face”.
After these operations are complete, press the “save” button in the upper right and save it.
Collect images to be used for learning.
I’ll download images from irasutoya (please make sure the total number of faces is about 20).
After downloading, press the go to import in the middle of label studio and import it.
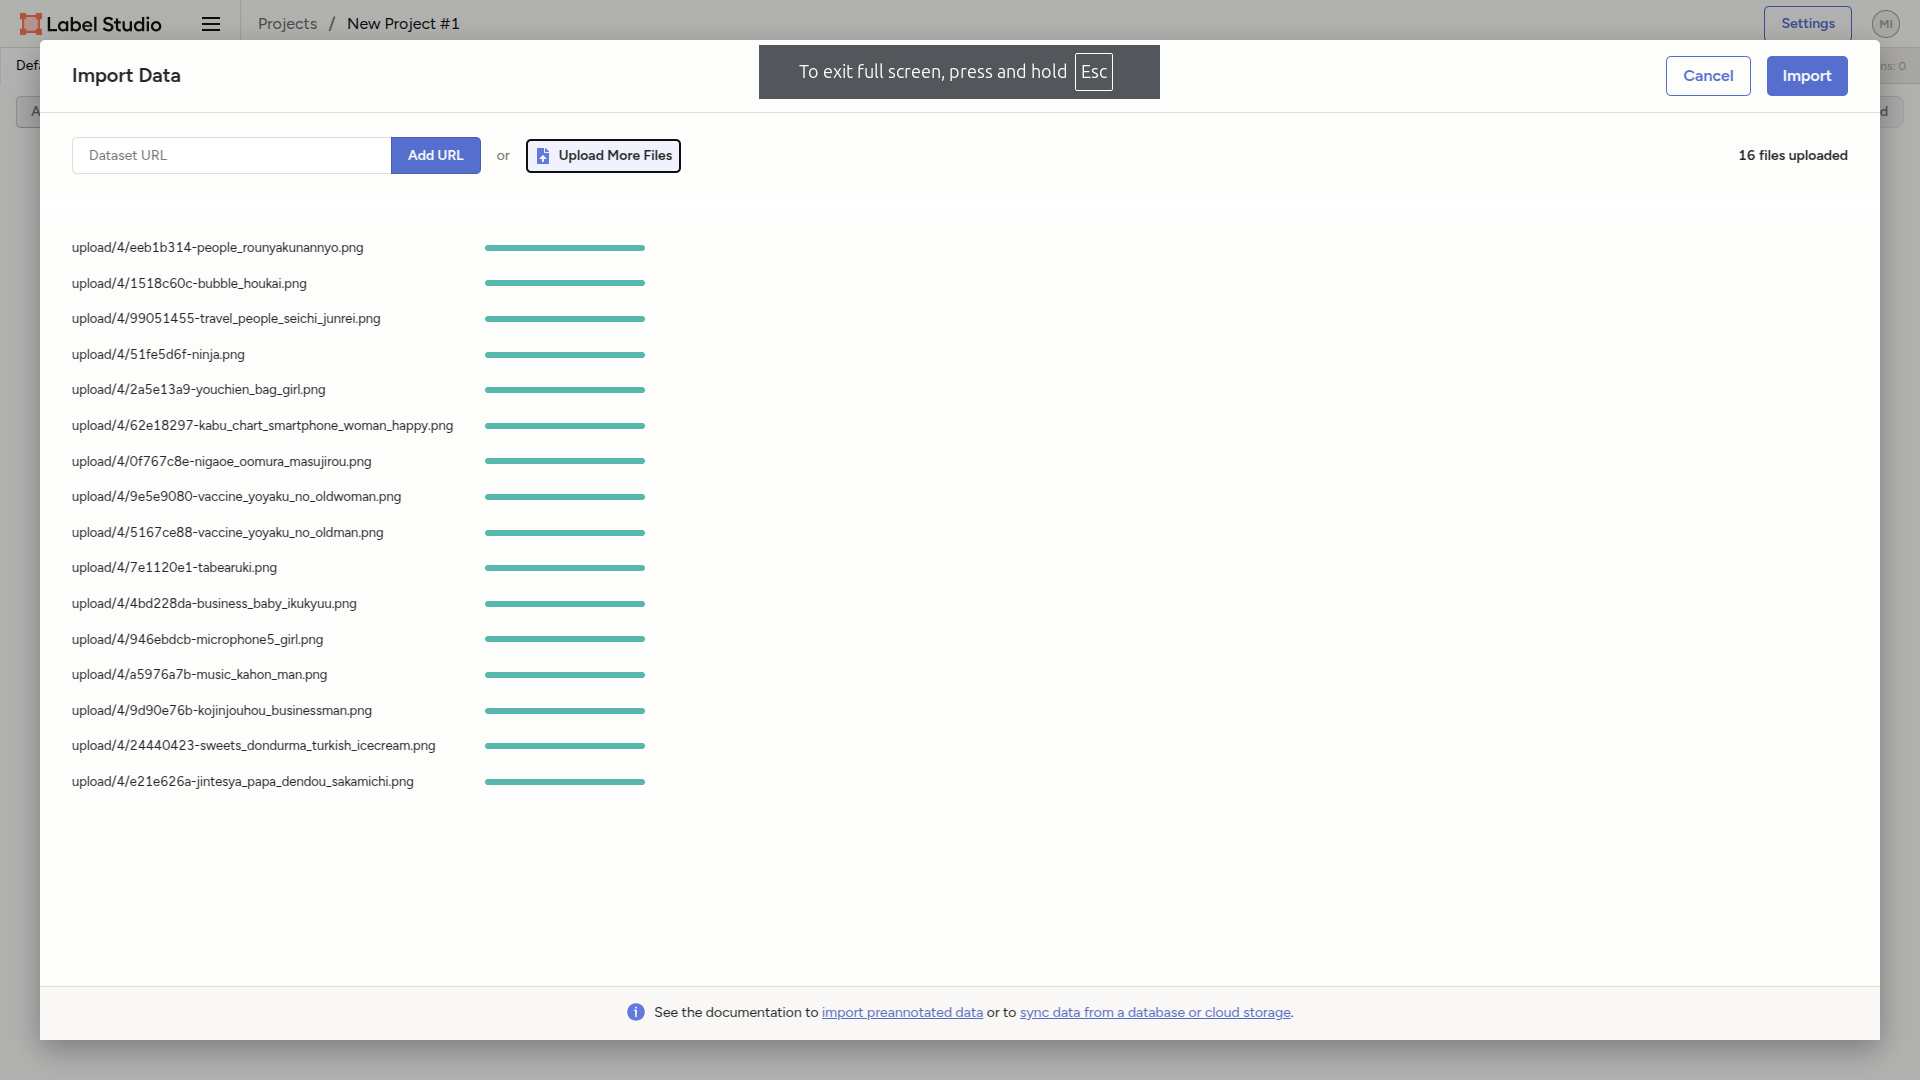 Press the import button and end the operation.
It’s finally time for labeling.
Press the blue button “label all tasks” at the top of the screen.
Label as shown in the following video.
Press the submit button and the next image will appear, so continue until it’s done.
When it’s done, next is export.
Go to the first screen of the project and press Export.
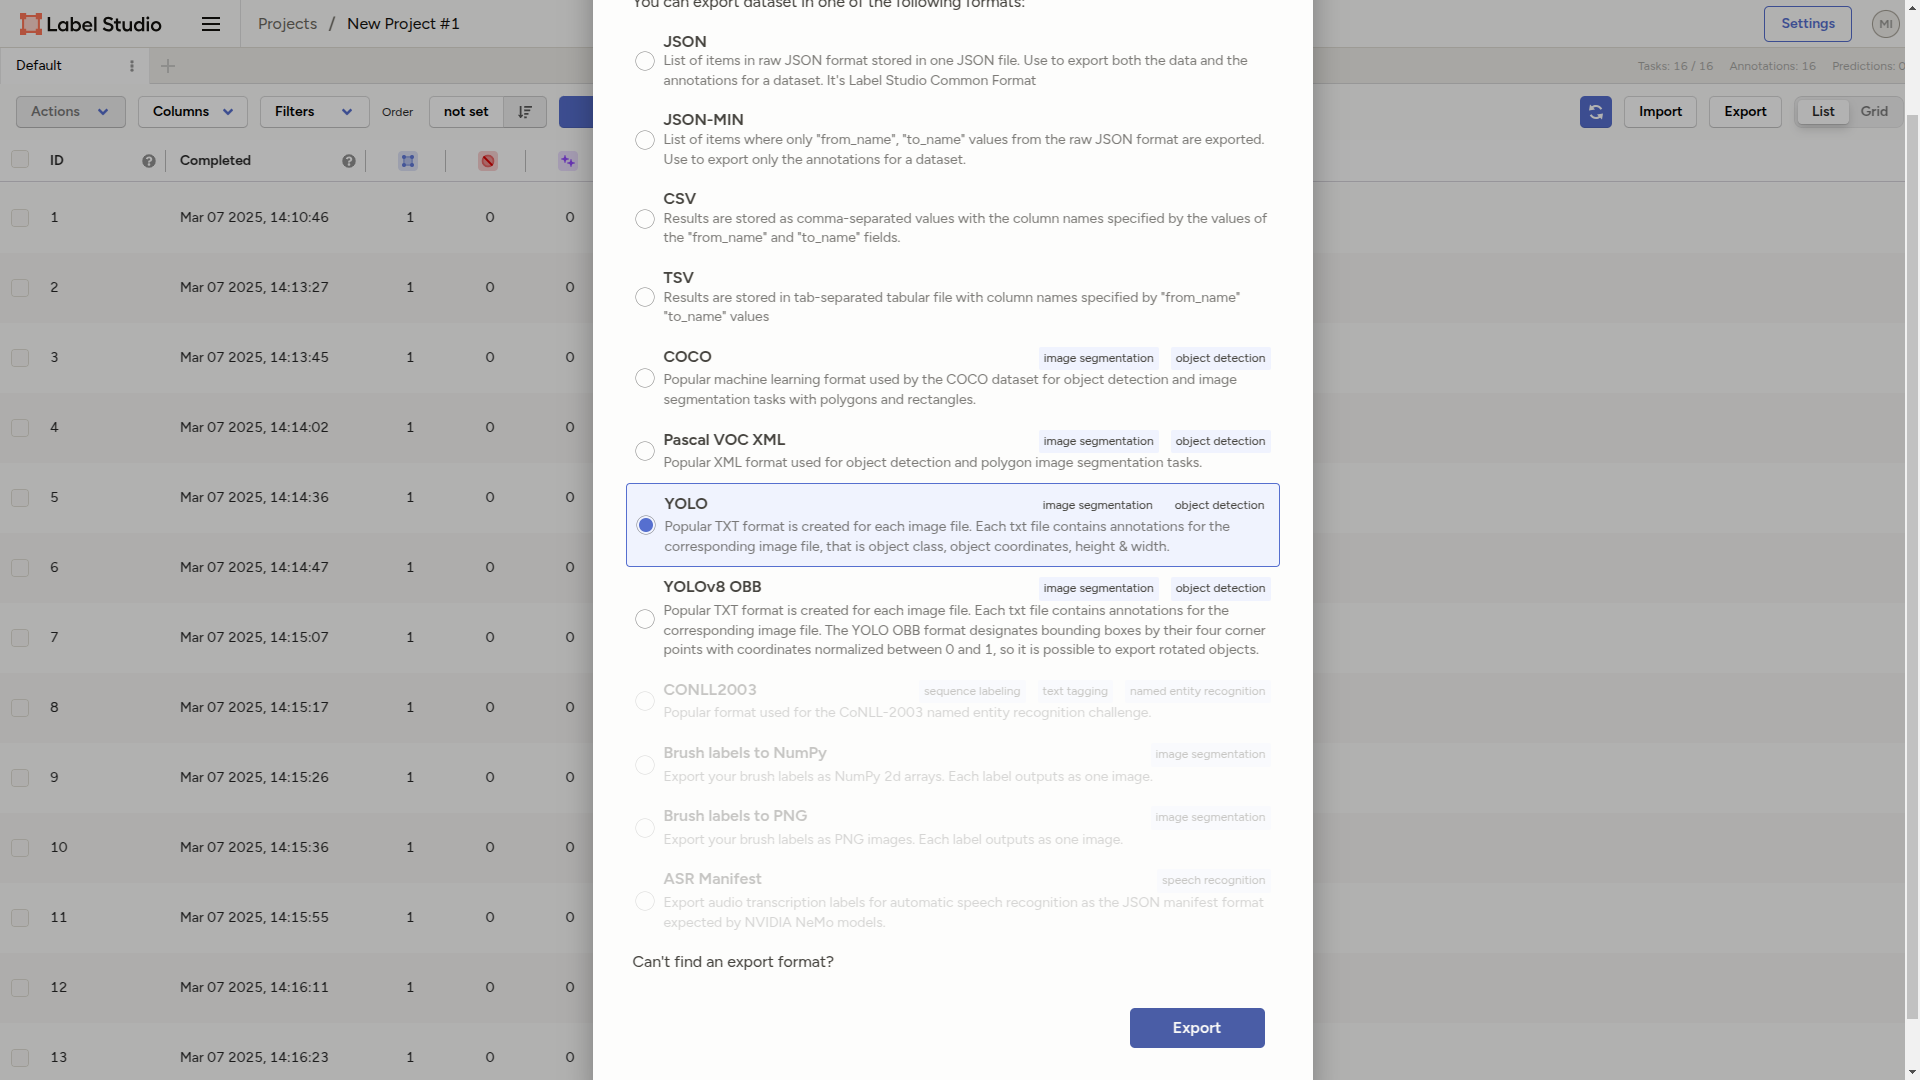
Select YOLO Format and press Export.
Unzip the downloaded zip file.
Go back to the root of the working directory and execute the following command.
mkdir data
Then, move the expanded zip file to data/exported_data.
It should look like this.
data
└── exported_data
    ├── classes.txt
    ├── images
    │   ├── 0f767c8e-nigaoe_oomura_masujirou.png
    │   ├── 1518c60c-bubble_houkai.png
    │   ├── 24440423-sweets_dondurma_turkish_icecream.png
    │   ├── 2a5e13a9-youchien_bag_girl.png
    │   ├── 4bd228da-business_baby_ikukyuu.png
    │   ├── 5167ce88-vaccine_yoyaku_no_oldman.png
    │   ├── 51fe5d6f-ninja.png
    │   ├── 62e18297-kabu_chart_smartphone_woman_happy.png
    │   ├── 7e1120e1-tabearuki.png
    │   ├── 946ebdcb-microphone5_girl.png
    │   ├── 99051455-travel_people_seichi_junrei.png
    │   ├── 9d90e76b-kojinjouhou_businessman.png
    │   ├── 9e5e9080-vaccine_yoyaku_no_oldwoman.png
    │   ├── a5976a7b-music_kahon_man.png
    │   ├── e21e626a-jintesya_papa_dendou_sakamichi.png
    │   └── eeb1b314-people_rounyakunannyo.png
    ├── labels
    │   ├── 0f767c8e-nigaoe_oomura_masujirou.txt
    │   ├── 1518c60c-bubble_houkai.txt
    │   ├── 24440423-sweets_dondurma_turkish_icecream.txt
    │   ├── 2a5e13a9-youchien_bag_girl.txt
    │   ├── 4bd228da-business_baby_ikukyuu.txt
    │   ├── 5167ce88-vaccine_yoyaku_no_oldman.txt
    │   ├── 51fe5d6f-ninja.txt
    │   ├── 62e18297-kabu_chart_smartphone_woman_happy.txt
    │   ├── 7e1120e1-tabearuki.txt
    │   ├── 946ebdcb-microphone5_girl.txt
    │   ├── 99051455-travel_people_seichi_junrei.txt
    │   ├── 9d90e76b-kojinjouhou_businessman.txt
    │   ├── 9e5e9080-vaccine_yoyaku_no_oldwoman.txt
    │   ├── a5976a7b-music_kahon_man.txt
    │   ├── e21e626a-jintesya_papa_dendou_sakamichi.txt
    │   └── eeb1b314-people_rounyakunannyo.txt
    └── notes.json
The names of the images are not important.
It’s finally time to prepare for learning.
Create a data/dataset.yml. This time, since there is only one type of thing to label, it’s not a problem, but if there are multiple types, please write in the same order as data/exported_data/classes.txt.
train: train/
val: valid/

# Number of classes (number of types of labeling)
nc: 1

names: ["face"]
Create a data/random_copy.py. This is used to separate the images for learning and the images used to evaluate the accuracy of the learning process.
#!/usr/bin/env python
import os
import random
import re

data_dir = 'exported_data/images'
train_data_dir = 'train'
test_data_dir = 'valid'
namelist = [
    f for f in os.listdir(data_dir) if os.path.isfile(os.path.join(data_dir, f))
]

random.shuffle(namelist)

name = [
    re.match(r"(.*).(jpg|png)", f).group(1) for f in namelist
]

for i in range(0, len(namelist)//5*4):
    os.system(f"cp {data_dir}/{namelist[i]} {train_data_dir}/images/")
    os.system(
        f"cp {data_dir}/../labels/{name[i]}.txt {train_data_dir}/labels/")

for i in range(len(namelist)//5*4, len(namelist)):
    os.system(f"cp {data_dir}/{namelist[i]} {test_data_dir}/images/")
    os.system(f"cp {data_dir}/../labels/{name[i]}.txt {test_data_dir}/labels")

os.system(f"cp {data_dir}/../classes.txt {train_data_dir}/classes.txt")
os.system(f"cp {data_dir}/../classes.txt {test_data_dir}/classes.txt")
os.system(f"cp {data_dir}/../classes.txt {test_data_dir}/classes.txt")
Give it execution permission.
chmod u+x data/random_copy.py
Create the necessary directories.
Move to the root of the working directory and execute the following command.
mkdir -p data/{train,valid}/{images,labels}
Execute the following command.
./random_copy.py
Next, download the model to be used for learning to data/.
curl -L -o {model_name}.pt "https://github.com/ultralytics/assets/releases/download/v8.3.0/{model_name}.pt"
model_name is here, so please select it after referring to it.
This time, we’ll use yolo11n.
curl -L -o yolo11n.pt https://github.com/ultralytics/assets/releases/download/v8.3.0/yolo11n.pt
Specify the directory to be executed.
Create a setup_dirs.py under the root directory of the project.
#!/usr/bin/env python
import os
from ultralytics import settings

# Update a setting
dirname = os.path.dirname(__file__)
runs_dir = os.path.join(dirname, "runs")
print(f'set up runs_dir to {runs_dir}')
settings.update({'runs_dir': runs_dir})
Give it execution permission again and execute it.
chmod u+x setup_dirs.py
./setup_dirs.py
It’s finally time to learn.
cd data
yolo detect train \
  data=${PWD}/dataset.yml \
  model=./yolo11n.pt \
  epochs=300 imgsz=640 device="cpu"
This time, we’ll learn 300 times. If the learning accuracy doesn’t go up, it should be stopped in the middle.
Please wait patiently.
By the way, the reason why I am using cpu to learn it is because my NVIDIA cuda driver is broken:)
When it’s done, you should see something like this at the end of the output.
Results saved to /home/***/ball_detection/runs/detect/train
Go to this directory.
cd /home/***/ball_detection/runs/detect/train
cd weights
There is learning data in the current directory (best.pt). Copy it to the root.
cp best.pt ../../../../best.pt
Let’s actually check the accuracy.
Create a python script (predict.py).
import os
import sys

from ultralytics import YOLO

# Load a model
model = YOLO("best.pt")  # load a custom model

if len(sys.argv) == 1:
    print("usage: predict.py test.jpg")
    exit(1)

dirname = os.path.dirname(__file__)
runs_dir = os.path.join(dirname, "runs", "predict")

# Predict with the model
results = model(source=sys.argv[1],
                project=runs_dir,
                name="ball",
                save=True)

print(results[0].boxes.xyxy)
print(results[0].boxes.cls)
print(results[0].boxes.conf)
print(results[0].names)

Let’s try it with this image.
python predict.py testpic.png
You should see the following output in the output.
Results saved to /home/***/ball_detection/runs/predict/ball
Let’s see it.
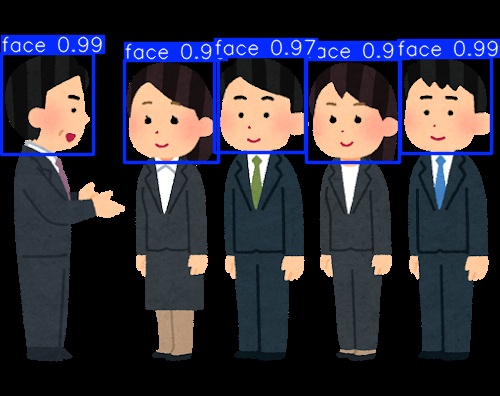
It’s displayed very accurately. It’s amazing.
Conclusion
It’s very difficult to understand the insides of object detection, but if you just touch it, it can be done quickly, so I hope you can feel it more closely.